Practically every climbing gym has a campus board. For many beginner climbers, it’s a far-fetched torture device that looks incomprehensible. For other climbers, the campus board is an essential tool in their training toolbox.
Where you fall on the spectrum of campus board users doesn’t really matter. Many climbers are perfectly happy without campusing. In contrast, others require campus training for their climbing livelihood. Regardless, the fact remains the same– campus boards are proven climbing tools that enhance your finger grip contact strength and arm power.
So, if you’re curious about what the strange wooden device is supposed to do or how it does it, or if you just want to do finger pull-ups to impress your friends, keep reading.
Note: This article is part of a wider series on training for climbing that also includes:
- Progressing Past your Plateau: The Building Blocks to Training Programs
- Guide to Hangboard Training
- Antagonistic Training for Climbers
- 5 Finger Strength Training Exercises for Fingers of Steel.
What is a Campus Board?

A campus board is a rock climbing training tool used to improve upper body strength and power in rock climbers. In particular, campus boards shine at improving finger strength and contact strength (which I will explain in more detail below).
The History of the Campus Board
It’s generally understood that legendary German climber Wolfgang Güllich invented the campus board as a means for sending his super hard project in the iconic Frankejura of Germany. At the time, Güllich was projecting a series of mega-hard sport climbs, like Wallstreet (5.14b or 8c) and Action Directe (5.14d or 9a).
To send these climbs, Güllich needed to train his dynamic climbing abilities and power. Most notably, his finger strength. To accomplish this, he built a rudimentary wooden board with wooden rungs and beveled-out finger pockets at the Campus Center in Nuremberg, Germany (hence the name). The board was designed to be used without feet, forcing Güllich to only use upper body and finger strength.
Over time, Güllich trained enough to be able to redpoint Action Directe in 1991 after 11 sessions on the route, becoming the first climber to send the world’s first 9a.
Different Types of Campus Boards
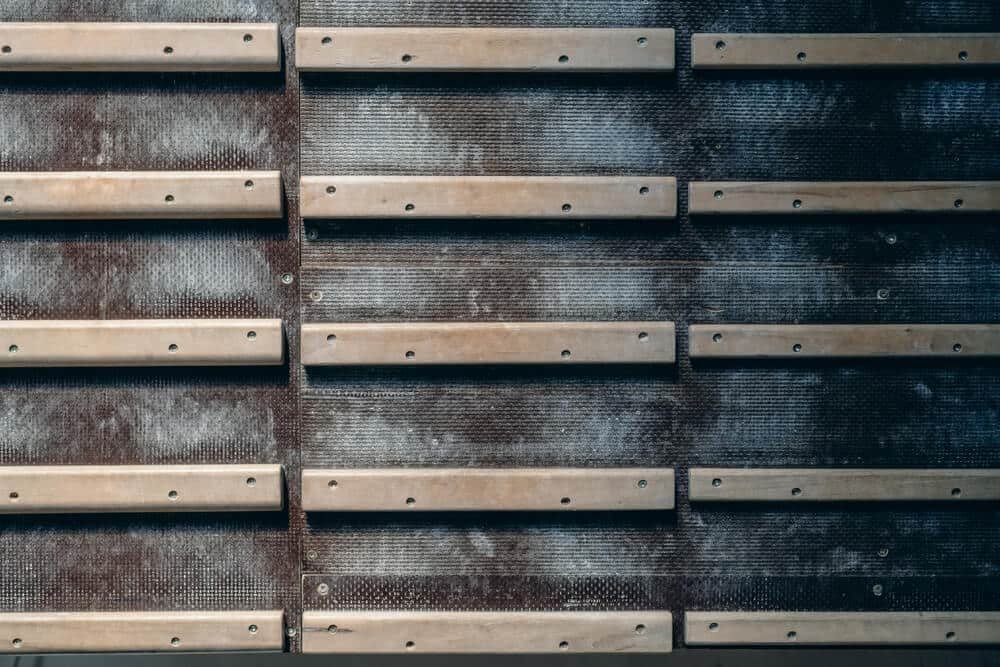
There have been many iterations since the original campus board was built. The size of the rungs, the radii of the rungs’ edges, and the angle of the board itself can all be tweaked to custom specifications.
In addition nowadays, there are even campus boards that look nothing like the original.
Sloper Campus Board

Instead of campus boards with wooden rungs of varying sizes and spacings that train crimp strength, you can now find campus boards with slopers. Sloper campus boards feature wooden orbs or rails of varying sizes. They are ideal for training open-hand grips, power, and contact strength.
Peg Campus Board
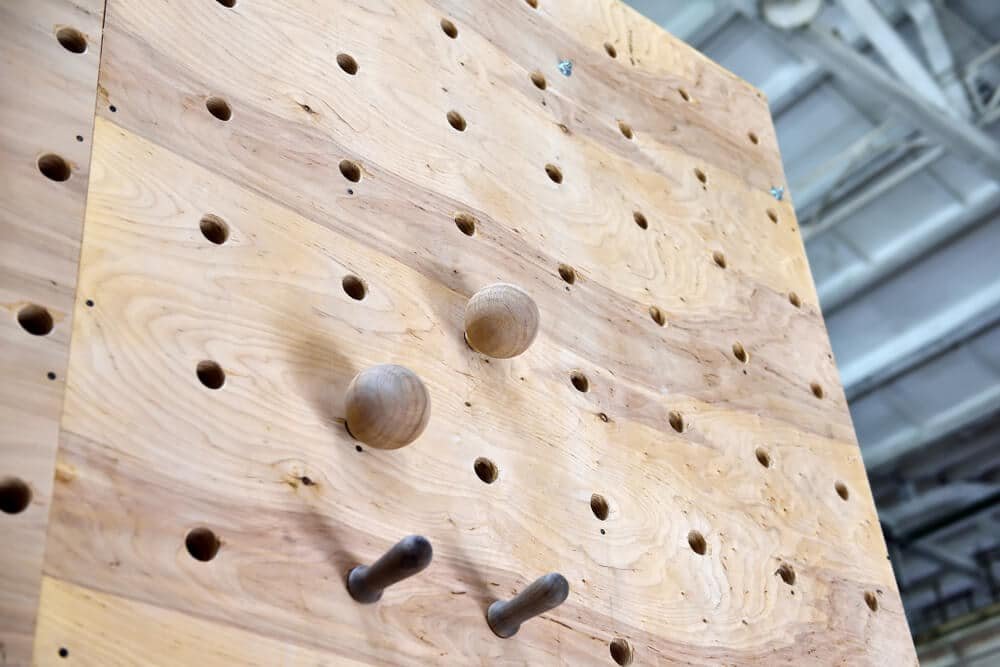
Peg campus boards feature a network of wooden holes instead of a ladder of rungs. Instead of crimping and campusing between wooden rungs, you insert the wooden pegs into the board’s holes. Pegboards are ideal for training lock-off strength, power, and accuracy.
How Do Campus Boards Work?
Contrary to other climbing walls built from the ground up, the campus board is designed to be hung from the ceiling. Therefore, you cannot use your feet while using a campus board. Instead, you must rely solely on your upper body and finger strength to propel yourself upwards.
The board itself is equipped with wooden rungs or rails that form a ladder that runs from the bottom of the board to the top. The rungs of a campus board come in different shapes, sizes, and spacings.
Depending on your climbing ability and goals, you execute different workouts and exercises by campusing on the rungs without using your feet.
What is Campus Board Training Good For?
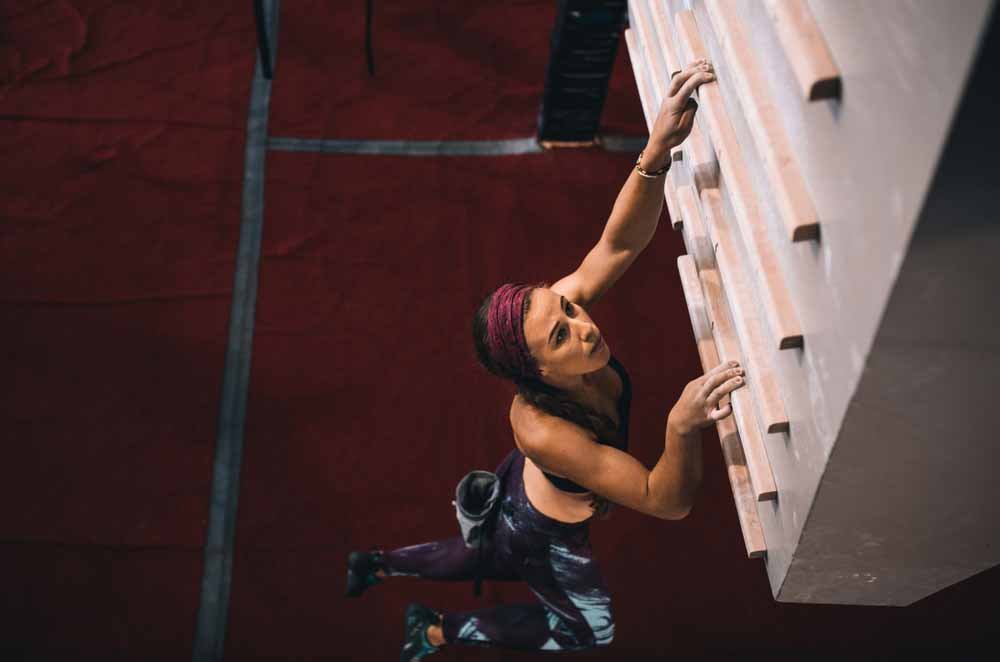
To climb a campus board, you must use explosive and dynamic power to pull your way to the top without pushing with your feet. Through the practice of climbing without your feet and only with your upper body, you exclusively train two vital components for climbing– contact strength and explosive power.
Contact Strength
Contact strength refers to your ability to grip a hold in the instant that you first come into contact with it. The greater your contact strength, the better you are at dynamically going for a hold, gripping, and catching it the first time without falling.
Contact strength is often exhibited during a dead point. A dead point is the apex of a climbing movement where you are neither rising nor falling. In a dead point, you either catch the hold perfectly or fall. Deadpointing, then, is the act of making a large dyno or short snatch where you either grip the hold with one hand or fall off.
Campus boards help you train appropriate body positioning and contact finger strength required for more reliable and complete deadpointing. In particular, you learn how to be precise with the force you exert and the timing of your dynamic movements.
In general, contact finger strength is most aptly trained with smaller rungs and quick and short movements.
Explosive Power
Campus training doesn’t only help improve your dead point game. Campus board training also helps you increase your explosive power. In particular, campusing helps you learn how to deploy the larger muscles in your arms to pull up your body weight and generate momentum for moving upward to the next rung.
In general, explosive power training is achieved on the campus board with larger holds and longer movements.
Campus Board Exercises for Beginner and Intermediate Climbers

One Arm Campus Laddering with Feet
For climbers beginning to experiment with campus rungs, it may be helpful to start small and simple.
One of the ways to do that is with one-arm campus exercises while using your feet on the ground or kick rungs below the board. With one-arm laddering, the goal is to lunge between the first and second lowest rung.
After completing half the set with the right hand, switch to the left hand to even things out. After both arms, take a three-minute rest before beginning with another set.
One arm ladder with feet is a great exercise for laying a solid foundation of finger strength, power, and good technique.
Laddering with Skips 1-3-5-7
The most basic campus laddering exercise is the 1-3-5-7 sequence, beginning with both hands in a matched position on rung one and ending with both hands on rung seven. While completing the 1-3-5-7 ladder sequence, it’s essential to move as fast as possible– it should only take a few seconds to make the ascent.
Begin with just three sets of campus laddering exercises per workout. Eventually, after months and years of campus training, the goal should be to do ten sets of laddering sets per campus session.
Campus Board Exercises for Advanced and Elite Climbers
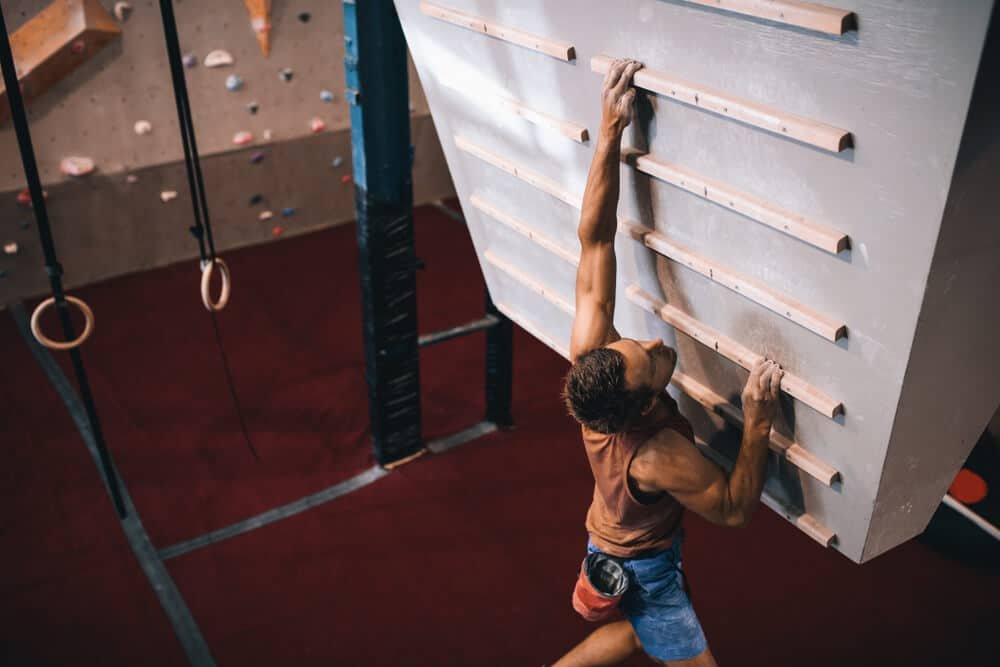
Campus Switch-Ups
Campus switch-ups help improve contact grip strength by focusing on high-intensity and rapid short movements between rungs.
For switch-ups, begin with your right hand on one rung and your left hand on the rung above it. With your feet off the ground, explosively switch your hands. Rapidly repeat the exercise for 10 to 12 repetitions. Starting out, the goal should be to complete two or three sets. Later on, the goal should be to complete up to six sets of switch-ups in a single session.
Laddering with Skips 1-5-8 or 1-5-9
Advanced and elite-level climbers who need an extra tough challenge for training arm power can use the 1-5-8 and 1-5-9 laddering sequence.
Remember– if you are attempting harder laddering sequences and consistently failing, you may be too tired or weak to properly and safely execute the exercise. If that is the case, you must focus on easier exercises to avoid injury.
Double Dynos
Double Dynos are the pinnacle of campus training. They entail double-hand movements over increasingly distant holds. They should be practiced by only advanced climbers with solid campus training techniques and healthy and strong fingers.
Done on smaller rungs, double dynos will train finger recruitment and contact grip strength. When done on larger rungs and with larger flight distances, double dynos help increase massive arm power.
Tips for Campus Board Training

The campus board is a wonderful training tool, but only if you use it appropriately. Here are some tips to help ensure your campusing goes well.
Wait Until You Are Strong Enough
Campus boarding is not for beginner rock climbers. That’s because campus boards exert an immense amount of force on your fingers and, therefore, can cause injury. This is especially true for beginners who are experimenting with the campus board before they’ve developed a solid foundation of finger strength.
To avoid campus board-related injuries early on in your climbing, wait until you have developed sufficient finger strength to handle the stressors related to campusing.
Plan Your Campus Session Strategically
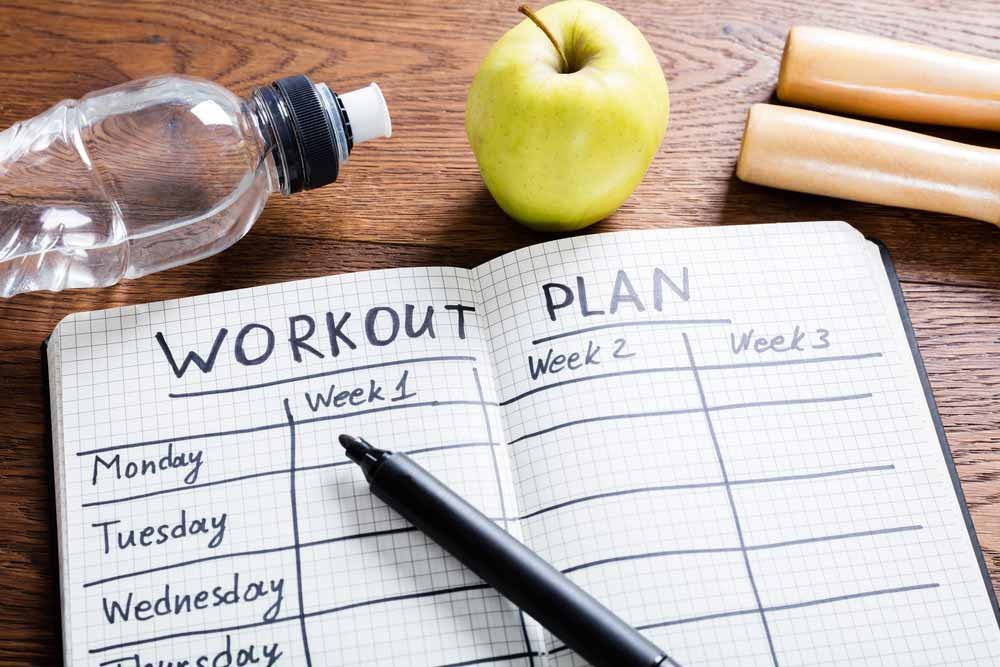
To reap the full benefits of a campus board session, it’s important to deploy the tool at the correct time. For example, you want to avoid scheduling a campus session after a three-hour bouldering session where you projected at your limit. On the other side of the spectrum, you don’t want to start campusing before you are sufficiently warmed up.
To experience maximum gains, schedule a campus board session into a training block where you are focusing on training power and contact strength. Make sure you are going into the sessions well-rested and after warming up properly.
Warm Up Properly
Warming up before a campus board training session is critical for two reasons. Warming up helps wake up your body and recruit the muscles you need for a successful session. With a warm body and recruited muscles, you can hit the ground running, making your session significantly more productive.
Warming up also helps prevent injury. When your fingers are warmed up (and well-rested), they can handle the intensity of campusing without too much risk of injury. Some risk of injury will always be present just from participating in campusing, but warming up helps mitigate that risk.
Use Good Form
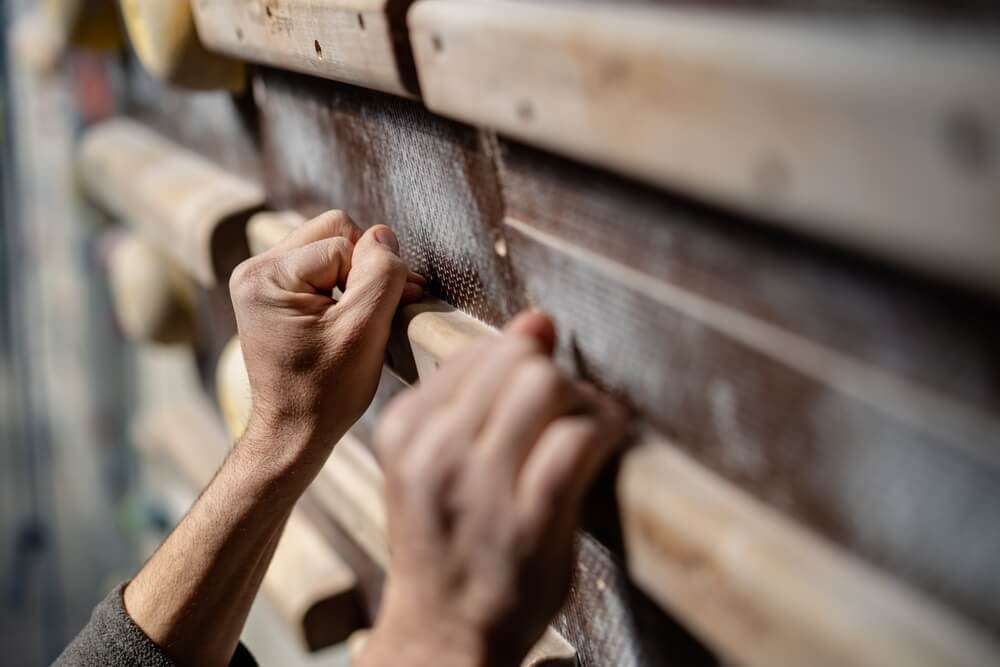
Like most things in climbing– proper form is super essential when campusing. For example, it’s important to keep your shoulders engaged when hanging, lunging, and catching holds. This means keeping your arms slightly bent and elbows “screwed into” the wall. While using the campus board, activating your core is also super important.
In terms of grip, the safest grips are the three-finger drag or the open crimp. For most campus exercises, you can avoid the full crimp. Lastly, always strive for symmetry, repeating your exercises on both sides to the best of your ability. In addition, always switch your leading hand between sets or workouts.
Warm Down From Your Session
After a high-intensity campus session, it can be helpful to warm down–slowly tapering off your exercise effort. This involves performing super easy exercises to help your body calm down and cool off. For example, after campusing, I like to finish my session with some really easy bouldering or stretching for 10 or 15 minutes.
The Campus Board is a Valuable Tool, But it Should Not be Over-Used

Knowing when to begin incorporating campus board training programs into your routine can be tricky because it depends on the individual and their abilities. However, a good rule of thumb is to avoid the campus board in the climbing gym until you are consistently projecting V4-V5 or climbing up to 5.12 on roped routes.
If you get hooked after your first campus board session and want to see how campusing can push you past your training plateau, it’ll be essential to continue using the tool responsibly. This means avoiding injury by warming up, using good form and finger grips, building strength slowly over time, and avoiding the pitfall of injury-prone repetitive use.
If you can do that, then you will no doubt begin to observe how campus exercises enhance your strength and power and boost your climbing to the next level.


